In production environments, multiple servers typically belong to a domain, and workloads run under domain users. In this post, we will build a simple domain environment for lab/testing purposes and walk through how to log in using domain credentials.
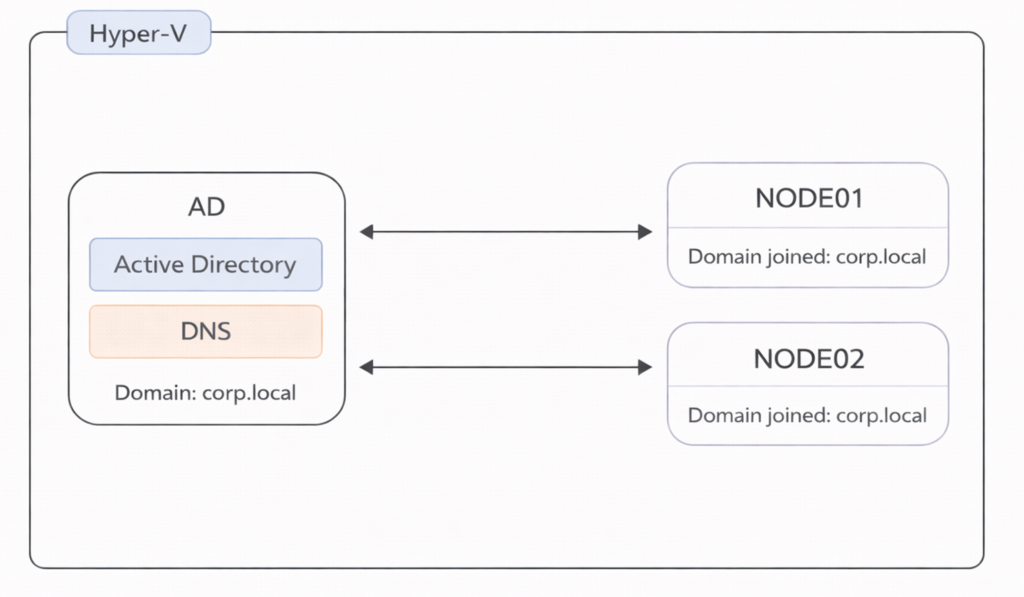
Target environment:
Prerequisites:
– A machine where you can use Hyper-V
– A Windows Server ISO file (to install Windows Server)
– Remote Desktop Connection Manager (to manage connections to the VMs more easily)
Lab-only note (important): This post disables Windows Firewall on the VMs to keep the lab setup simple. In production, configure only the required firewall rules instead of disabling firewall profiles.
Table of Contents
- Create VMs on Hyper-V (AD, NODE01, NODE02)
- Start each VM and install Windows Server
- Configure each VM (Firewall, IP, Hostname)
- Configure Active Directory + DNS
- Log in to the AD server and disable firewall profiles
- Join NODE01 and NODE02 to the domain
- Verify DNS registration
- Save the lab environment (Checkpoint)
- Connect using Remote Desktop Connection Manager
1. Create VMs on Hyper-V (AD, NODE01, NODE02)
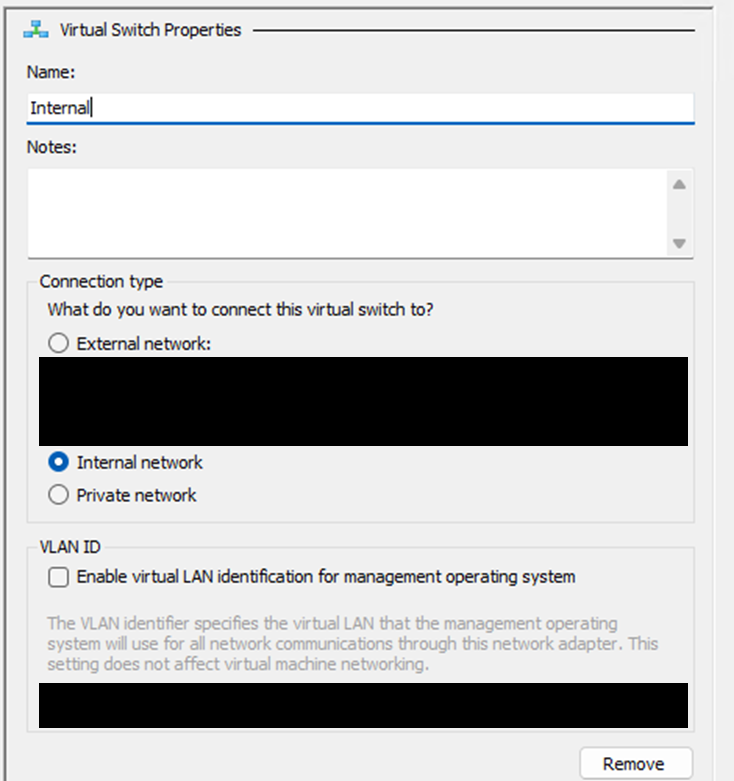
First, create a virtual network that will connect the virtual machines you are about to build.
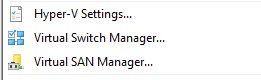
In Hyper-V Manager, select Virtual Switch Manager. Then select Internal and create a new virtual switch.
Create virtual machines from New > Virtual Machine.

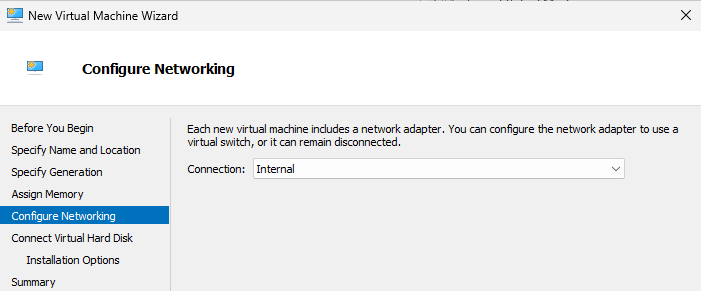
Create three VMs: AD, NODE01, and NODE02. During creation, select the internal virtual switch you created under Connection.
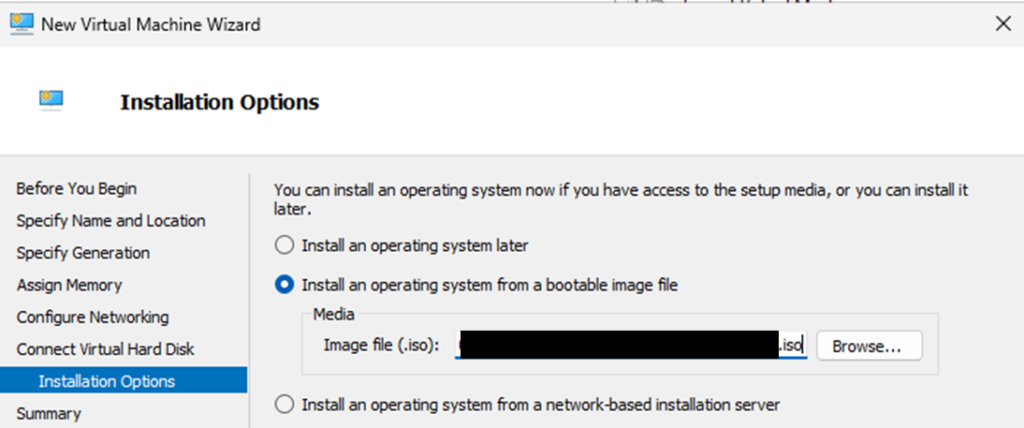
For Install Options, specify the Windows Server ISO you prepared.
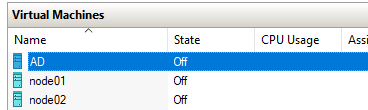
After creating the three VMs, it should look like this.
2. Start Each VM and Install Windows Server
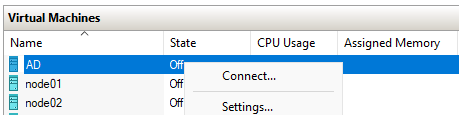
Connect to the VM and select Start. After starting, press any key when prompted to boot from the ISO, then follow the installation wizard.
Enter a valid product key and install Windows Server 20xx Datacenter (Desktop Experience). Configure the options as you prefer and wait for the installation to complete.

Set any password you like and sign in to Windows Server.
3. Configure Each VM (Firewall, IP, Hostname)
Open PowerShell as Administrator and disable the firewall (Private and Public profiles) for the initial setup.
# Disable Private and Public firewall profiles (lab only)
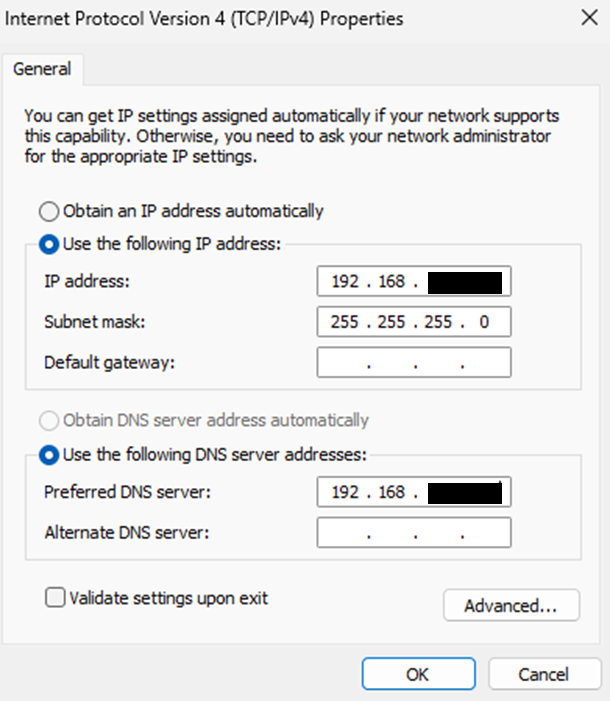
Set-NetFirewallProfile -Profile Private,Public -Enabled FalseAssign IP addresses to the network adapter. Use the following example (feel free to replace with your own, but keep them in the same subnet):
- AD
IP: 192.168.1.10
Subnet mask: 255.255.255.0
Preferred DNS server: 192.168.1.10 - NODE01
IP: 192.168.1.11
Subnet mask: 255.255.255.0
Preferred DNS server: 192.168.1.10 - NODE02
IP: 192.168.1.12
Subnet mask: 255.255.255.0
Preferred DNS server: 192.168.1.10
Next, change the hostname and reboot the OS. You can change the hostname via PowerShell. Rename the servers to AD, NODE01, and NODE02.
$newName = "hostName"
Rename-Computer -NewName $newName -Force -Restart
4. Configure Active Directory + DNS
Connect to the AD VM.
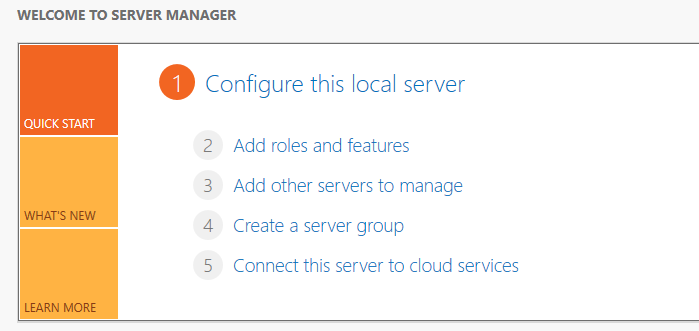
In Server Manager, select Add roles and features.
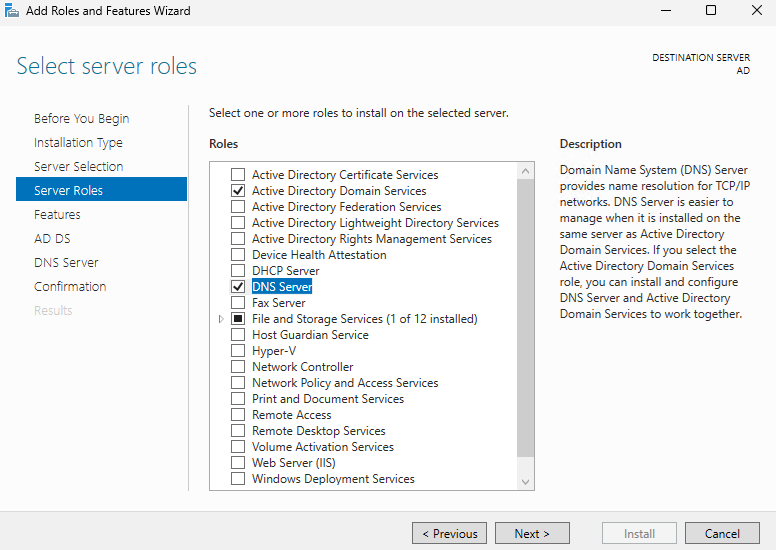
Select both Active Directory Domain Services and DNS Server, then proceed with the installation.
Confirm that both Active Directory Domain Services and DNS Server have been installed successfully.
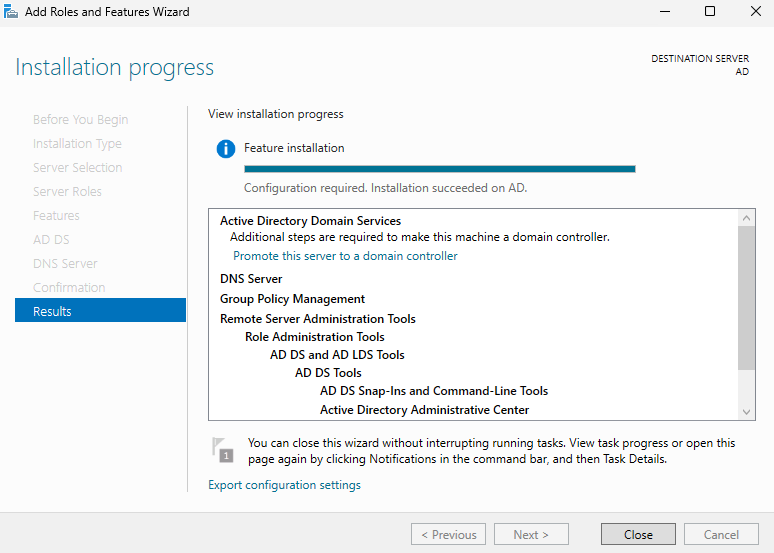
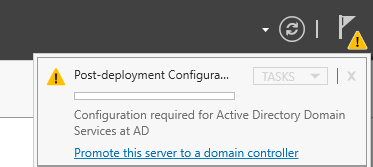
In Server Manager, check Notifications and select Promote this server to a domain controller.
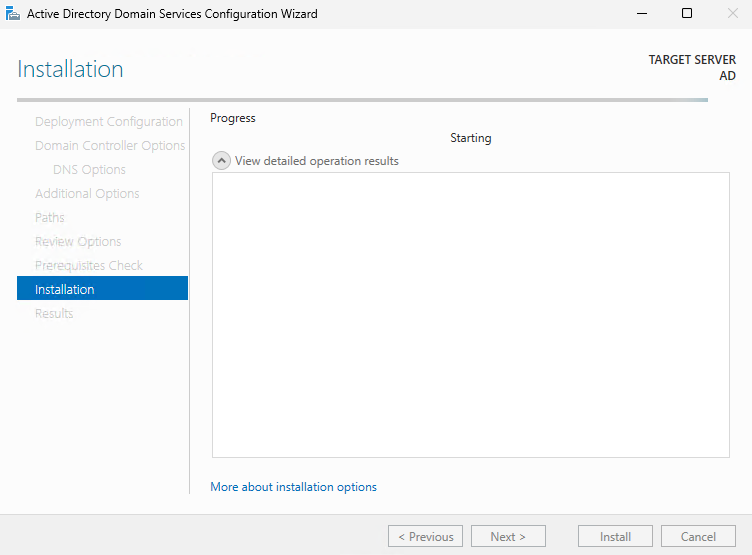
Enter a domain name (in this example, corp.local) and create a new domain.

For the NetBIOS name, keep the auto-filled value (CORP). Continue through the wizard and complete the configuration. After installation, reboot the server.
5. Log In to the AD Server and Disable Firewall Profiles
After reboot, sign in using the password you configured during Promote this server to a domain controller.
Since domain-related firewall rules are also enabled, open PowerShell on the AD server and disable the firewall profiles using the following command (lab only).
Set-NetFirewallProfile -Profile Domain,Private,Public -Enabled False6. Join NODE01 and NODE02 to the Domain
Log in to NODE01. Since it has not joined the domain yet, log in using a local user account.
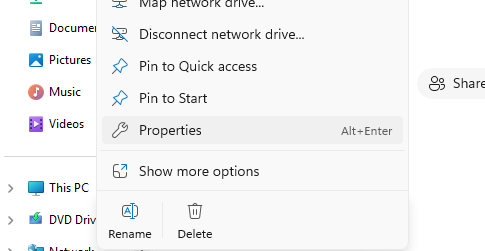
Open File Explorer, right-click This PC, and select Properties.
Select Domain or workgroup, then choose Change. Under Member of, enter the domain name (in this example, corp.local).
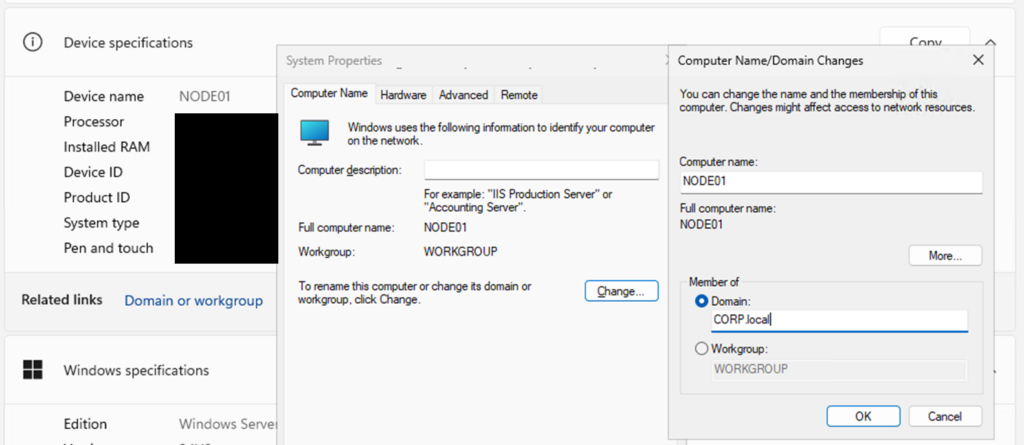
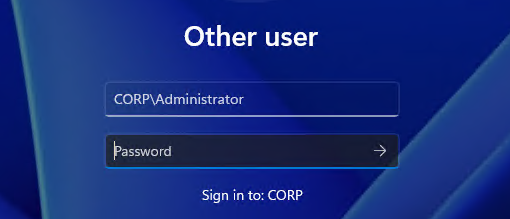
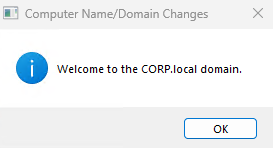
When prompted for a username and password, enter the domain administrator credentials (for example, Administrator and the password you set on the AD server). After you see the message that the computer has joined the domain, reboot the OS and confirm you can log in with a domain user (for example, CORP\Administrator).
After reboot, open PowerShell on both NODE01 and NODE02, and disable the firewall profiles using the following command (lab only).
Set-NetFirewallProfile -Profile Domain,Private,Public -Enabled False7. Verify DNS Registration
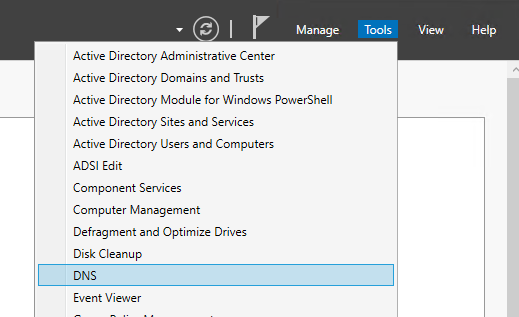
Log in to the AD server, then in Server Manager select Tools and open DNS.
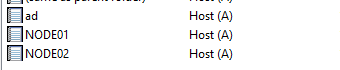
If the domain you created (corp.local) exists and AD, NODE01, and NODE02 are registered, the setup is complete.
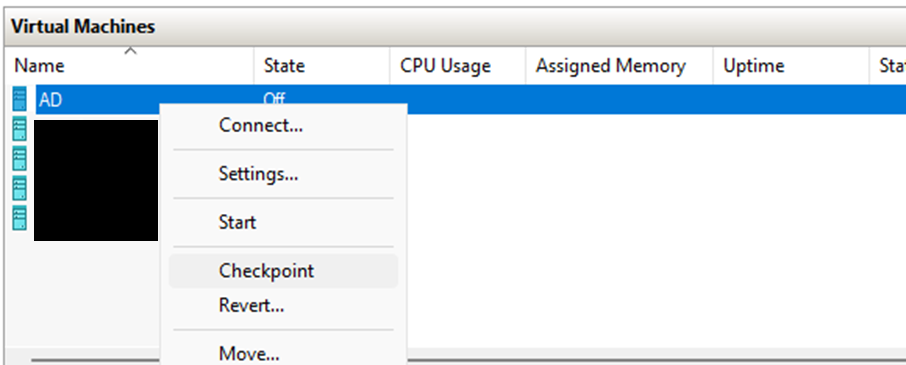
8. Save the Lab Environment (Checkpoint)
Shut down AD, NODE01, and NODE02.
In Hyper-V Manager, create a checkpoint for each VM. By taking a checkpoint at this point, you can run experiments and later revert to the same baseline state by restoring the checkpoint.
9. Connect Using Remote Desktop Connection Manager
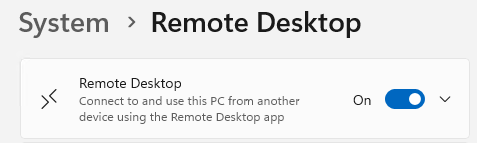
On each server (AD, NODE01, NODE02), go to Settings > System, select Remote Desktop, and turn Remote Desktop to On.
On the host machine, open the network adapter settings and assign an IP address to vEthernet (Internal). Use the same subnet as AD/NODE01/NODE02.
Host vEthernet (Internal):
IP: 192.168.1.1
Subnet mask: 255.255.255.0
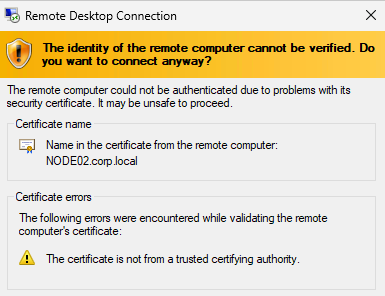
Open Remote Desktop Connection Manager and select Session > Connect To.
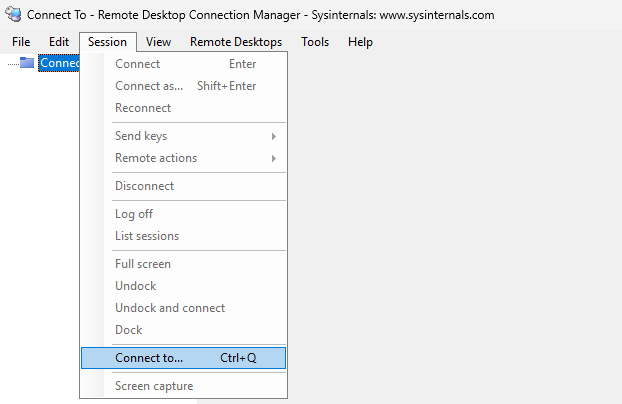
For the target server name, specify their IP addresses (for example, 192.168.1.10, 192.168.1.11, 192.168.1.12). For the username, use a domain user (for example, CORP\Administrator). If the remote desktop session opens, the connection is successful.