This article explains how to connect to SQL Server instance.
Connection Tools
SQL Server Management Studio(SSMS) or sqlcmd are commonly used to connect to SQL Server. SSMS is GUI tool and sqlcmd is CLI, so SSMS is easier to use for managing SQL Server operations.

Download tools
SSMS can be downloaded from here.
If you have already install SQL Server, sqlcmd tool is also installed in the same server. If you want to use sqlcmd on a server where SQL Server is not installed, you can download it from the following site.
Install tool
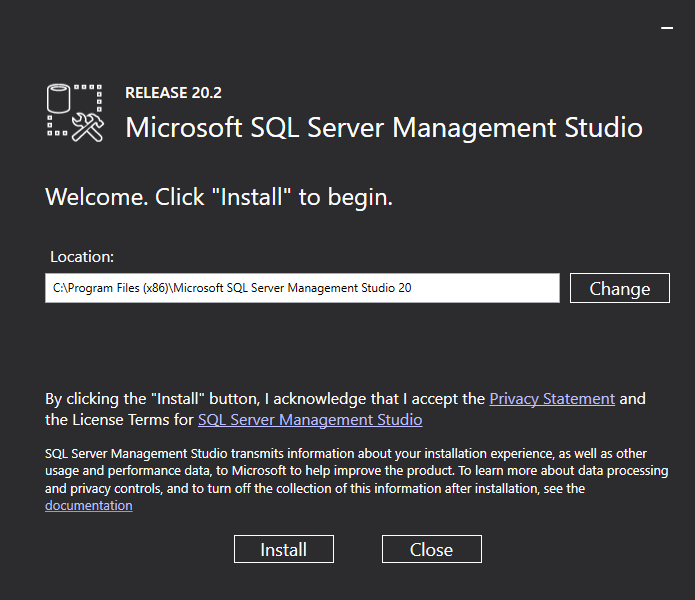
Download “SSMS-Setup-{loc}.exe” and execute it.
Connect to SQL Server by SSMS
After installing SSMS, you can see SQL Server Management Studio in Windows menu. Launch the SQL Server Management Studio, then SQL Server connection screen will be displayed.
In the Server Name field, enter the hostname where SQL Server is installed. Additionally, change the Encryption field to “Optional.” If the Encryption field is set to “Mandatory”, encrypted connection will be enabled, which will result in a connection failure at this time.
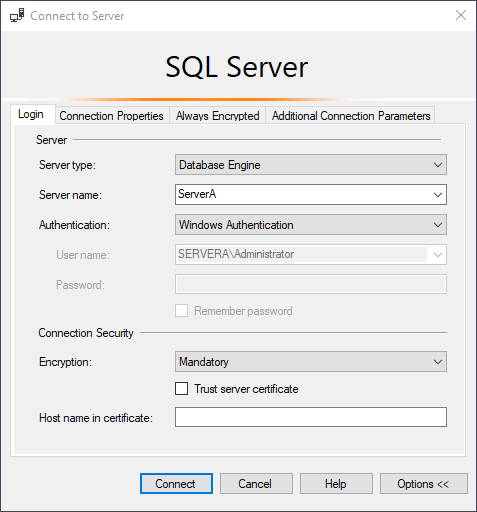
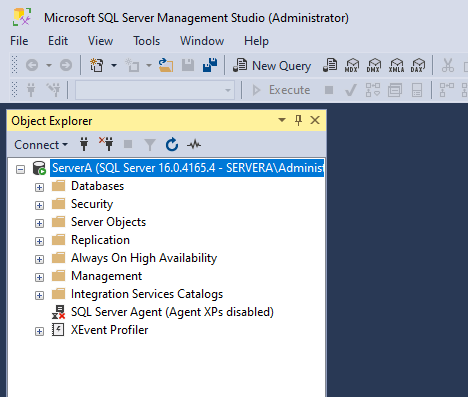
When the connection to SQL Server is successful, the databases and other objects in SQL Server will be displayed in the Object Explorer panel.
Connect to SQL Server by sqlcmd
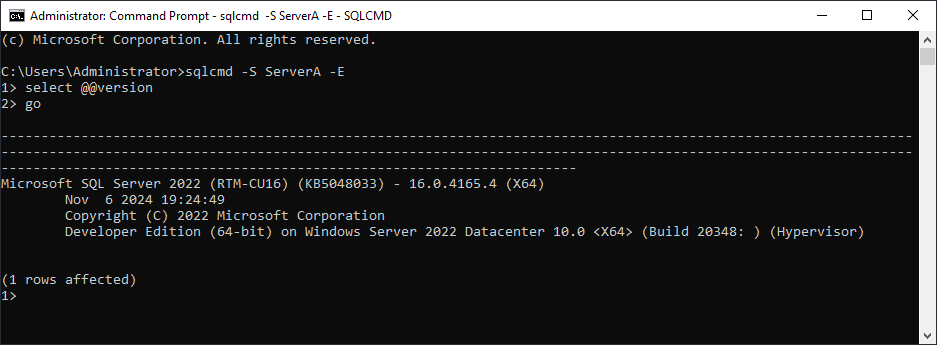
After successfully installing SQL Server, launch the Command Prompt. Then, execute the following command. This command is used to connect to SQL Server.
— command
sqlcmd -S hostName -E
If the text “1>” is displayed, the connection to SQL Server was successful. For example, to check the SQL Server version after connecting, execute the following query: