
This article explains how to uninstall SQL Server.
Uninstall SQL Server
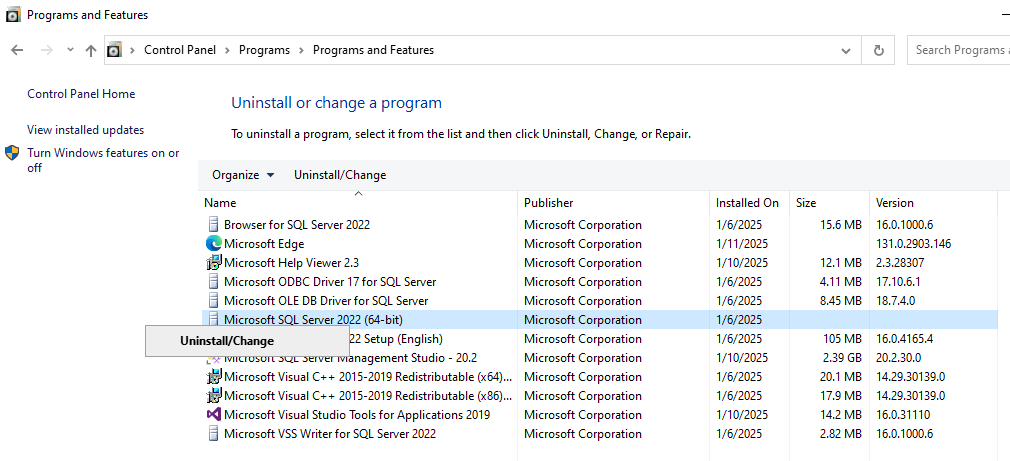
1. Right click on “Microsoft SQL Server 20xx (64-bit)” in Programs and Features screen, then select Uninstall/Change
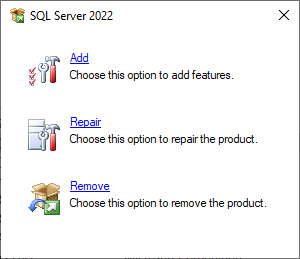
2. Select “Remove” button.
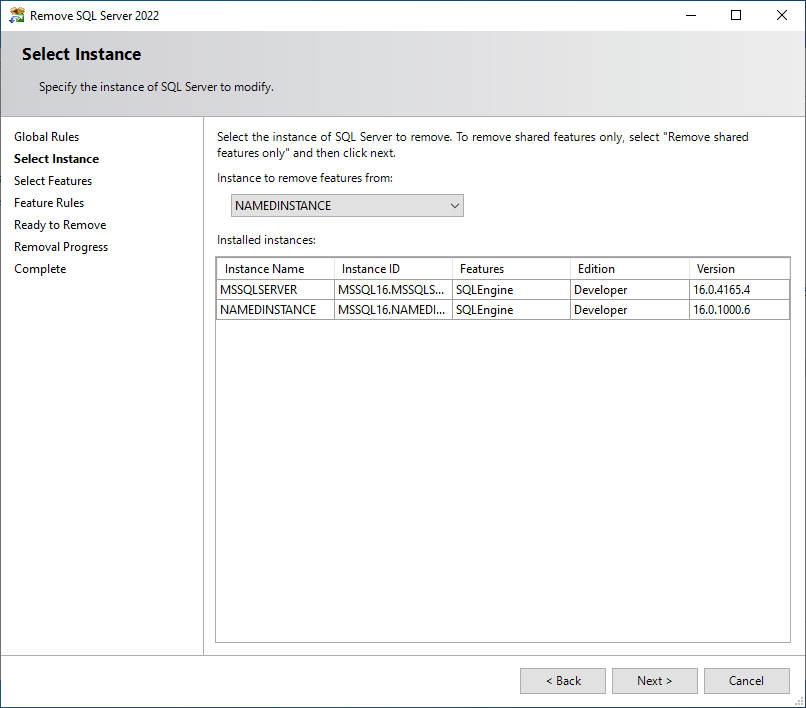
3. Select “Uninstall instance name” from “Instance to remove features from”and click “Next” button.
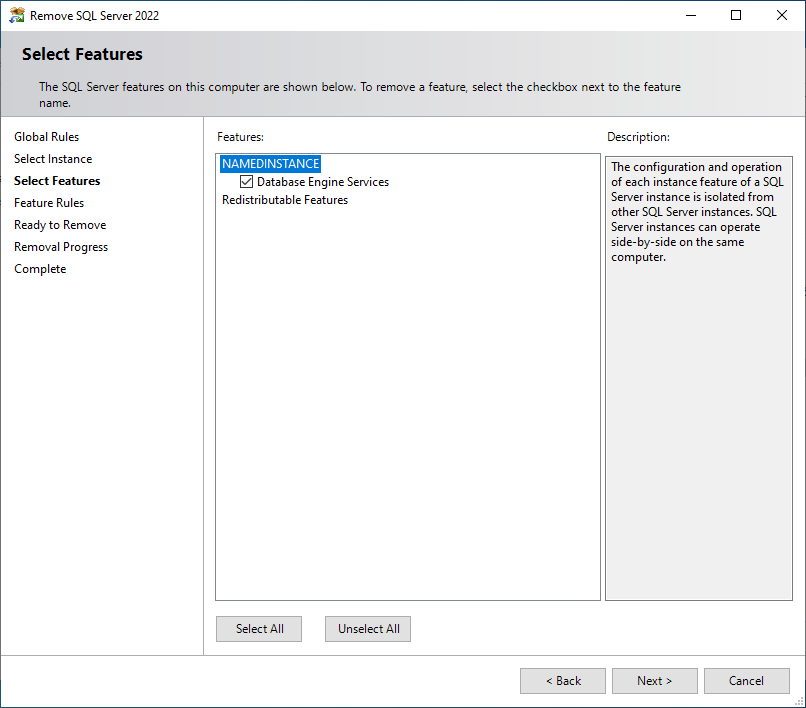
4. Check the features to delete and click the “Next” button.
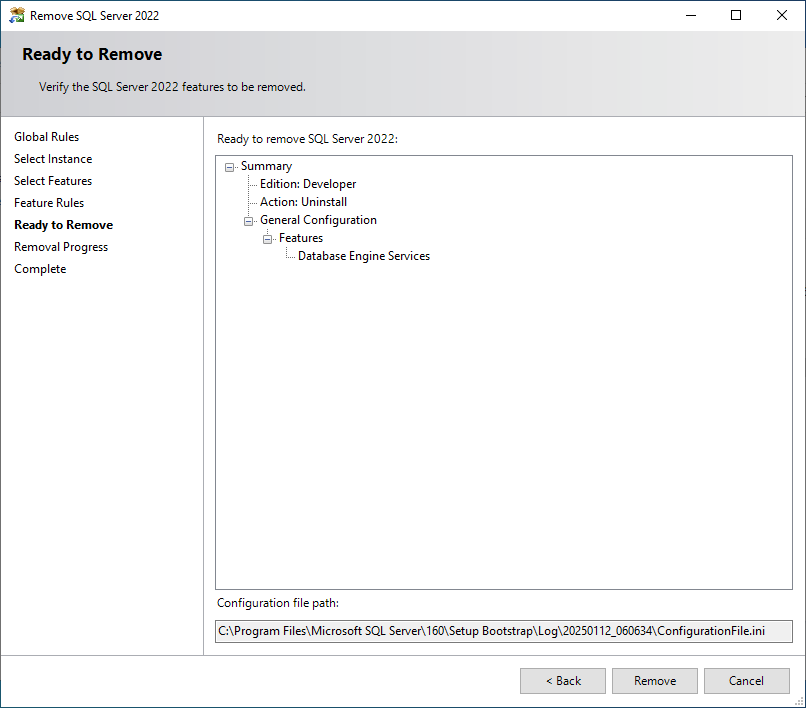
5. Click the “Remove” button on the “Ready to Remove” screen.
6. Confirm that the uninstallation has been completed without any error and click the “Close” button.